Much has happened in the autoGarden world since 2016. I'll try to slowly bring this blog up to date. For now, here's a link to the latest video of my progress.
Tuesday, July 13, 2021
Friday, June 10, 2016
Thursday, March 10, 2016
Autogarden 2016 Deck version
The plants are not connected to the flow of water yet. Maybe this afternoon.
Tuesday, February 9, 2016
Indoor autogarden - February 2016
 |
| Overall view of the system in the laundry/furnace room. A shower curtain covers the front of the system to maintain humidity and provide a reflective surface for the light. Note the water lifter on the left side. |
 |
| The shelving is made from standard adjustable brackets on vertical supports screwed into wall studs. There is a slight sloping of the upper shelf from left to right and from right to left on the bottom shelf. The lights are hung from eye bolts screwed into the bottom of the shelf above. |
 |
| A key element of this system is the upper part of the water chain. Every fourth link contains a small bucket which deposits its contents into the center of the hub as the link moves over the hub. Inside the hub there is a short path to an interior cone which directs the water to the outside of the hub and into the collector ring. The collector is above a trough and the water comes out of the slots and drops into the trough once every revolution of the hub. The rotation of the whole unit is by a small motor and a ball chain sprocket which works with a larger ball chain sprocket attached to the left side of the hub. Tubing goes from the trough to the first tray. All of the pieces were designed by the author and fabricated using a 3D printer |
 |
| Another view of the water lifter. There is another hub at the bottom of the tank that keeps the water chain from floating and the two halves of the chain from getting caught on each other |
 |
| The trays are made from 8 inch square storage containers that are connected to each other with short sections of rubber hose. I find that it isn't critical that the connections be water tight if another tray is placedbelow the first to collect water from any small leaks. Small pieces of foam are placed in the lower tray to let the hose sections clear the top edge of the lower tray. |
 |
| Within the trays are placed pieces of foam that are about 7 inches square. The foam is raised off the bottom of the tray with 5 decking screws (not shown). Raising the foam prevents floating and provides a larger reservoir in the tray. A cloth covers the foam and the edges extend down into the water below. This serves as a capillary mat. The pots and trays with the seeds and plants are placed on top of the mat. If the holes in the bottom of the containers are not conducive to moving the water from the mat to the soil,a small wick or two (made from a paper towel) is placed in holes in the bottom of the container |
 |
| Video is of a similar water lifter hub during development. This post describes the first phase of the project. In the next day or two I'll be adding a controller for the motor. It will be based on a design that was used with great success last summer. The outflow from the last tray causes a sponge to become wet. The weight of the sponge causes an electrical switch to be deactivated and turn off the motor. After some time, the sponge dries out and loses enough weight to activate the switch and start the motor again. |
Sunday, August 30, 2015
New home gardens 2015 - part 1


Thursday, June 20, 2013
Autogardens mid-June 2013
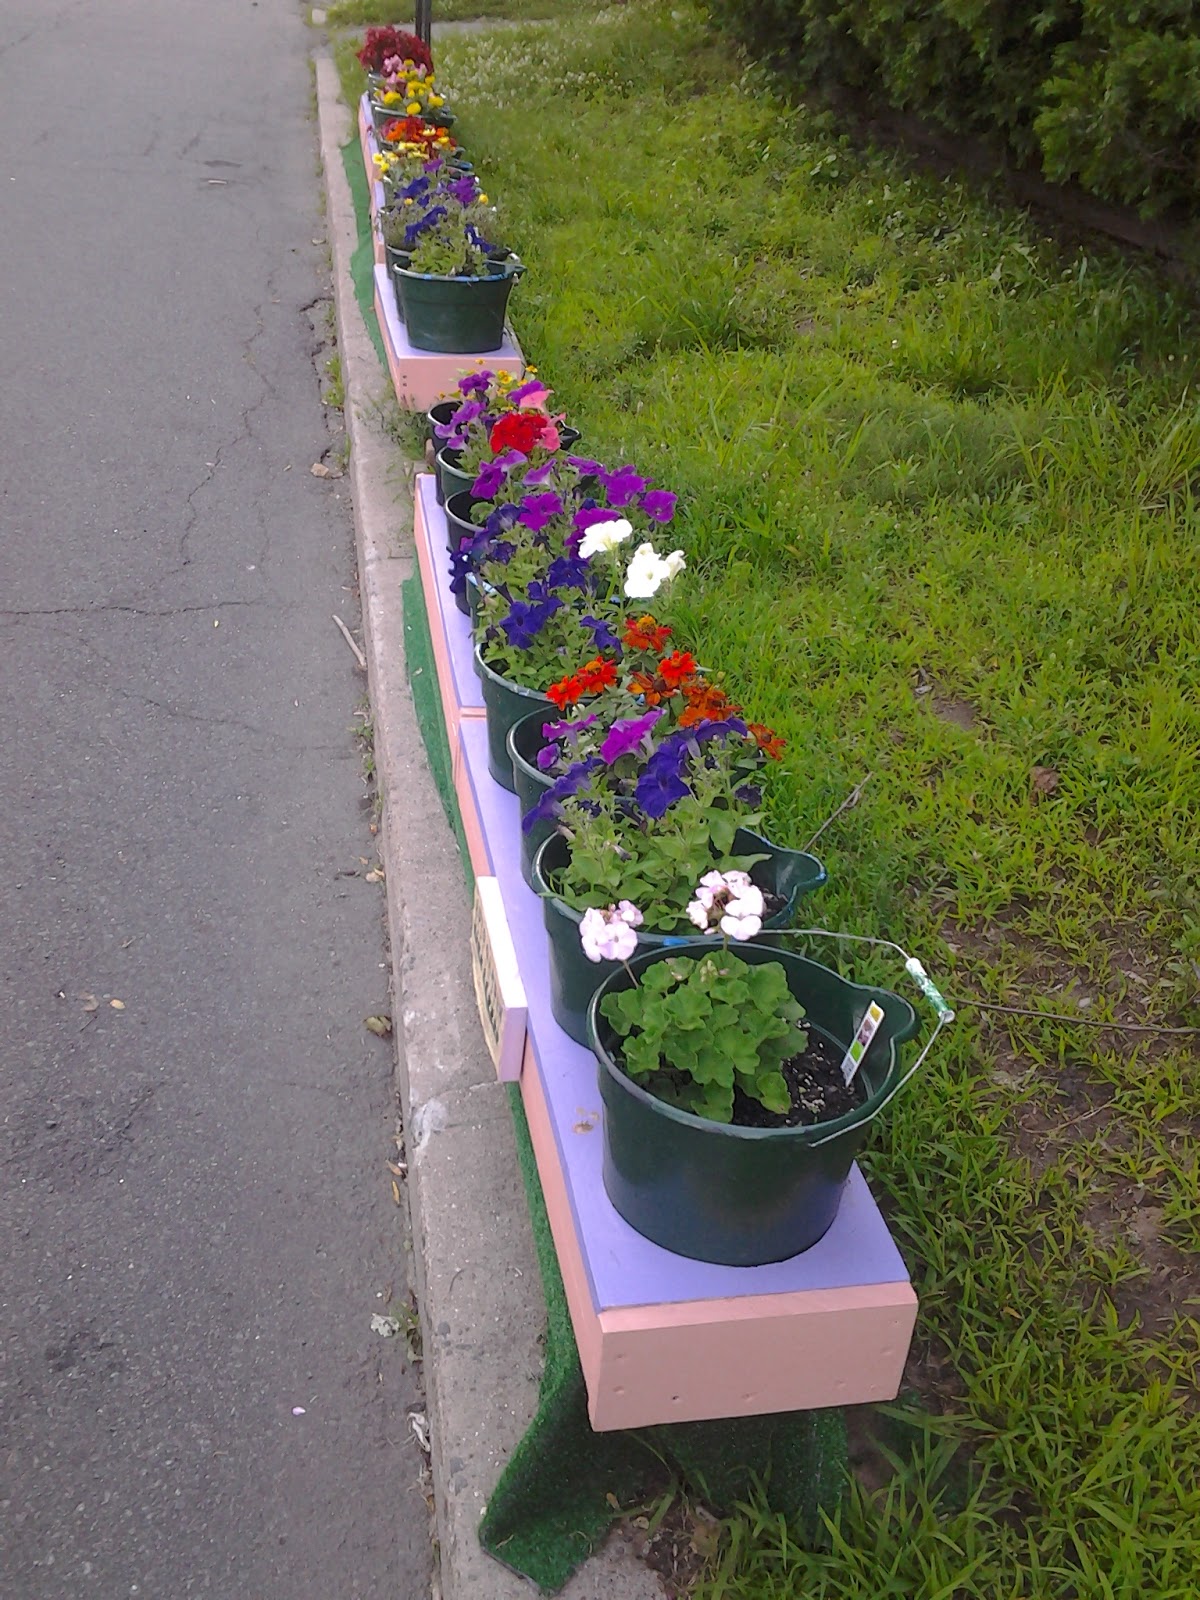 |
| AutoGardens (24 pots in 6 racks) along the street in Nyack NY. No need for water controllers yet |
 |
| View from other end of racks seen above |
 |
| New style of racks under construction. |
 |
| Single rack (4 pots) in Valley Cottage, NY |
 |
| Racks at Camp Yomi - Rockland NY. Note 11-gallon tank at the left. |
 |
| Second set of racks at Camp Yomi |
 |
| AutoGardens (96 pots in 24 racks) at Nyack Community Garden |
 |
| AutoGardens (24 pots in 6 racks) on plant stand on patio. |
 |
| AutoGardens (12 pots in 3 racks) in Brooklyn NY |
 |
| Almost-ripe tomatoes on autogarden plant in Greensboro North Carolina. |
Monday, January 28, 2013
Autogardens 2013-January -Wintertime gardens
What follow are a few photos of the wintertime gardens and the use of my new water controller design

This autogarden is designed primarily for the starting of seeds. It consists of a 3-level, 12-fluorescent lamp rack of 12 trays (yellow and hidden behind the horizontal bar). A constant level of water is maintained in each tray and wicks descend through holes in the green foam covers. The wicks form an always-damp pad on the top of the tray cover and the half-high downspout sections have their own sets of wicking material. The water controllers (circular devices with yellow hose sticking out of it) are constructed of a piece of 2" PVC pipe, the corresponding cap for the PVC pipe, the barrel of a disposable pen, a circular disk of 1" thick foamboard that slips inside the PVC pipe, and a 1" square piece of foam weather stripping that is stuck to the top of the foam cylinder.

View of the top rack. Also shown is the pvc plumbing that directs water from the reservoir to the water controllers.

Shown here is a window version of the auto garden. Note the reservoir with the pink level indicator. Plain nursery trays (black) are used to hold the water for the wicks

Better view of the wick pad

Large sized autogarden. This is the design that will be used outside this summer. The racks are four feet long and one foot wide. The controller is in the middle in the back and the reservoir is on the right side of the photo. With this type of setup, no wicks are used. The plants are sitting in about a half inch of water. The photo shows four plants but the versions that will be going into the garden plots will have either three or four pots depending of the ultimate size of the plants being grown.
Subscribe to:
Posts (Atom)