[refer to earlier posts for general information about AutoGarden styles and naming and other results]
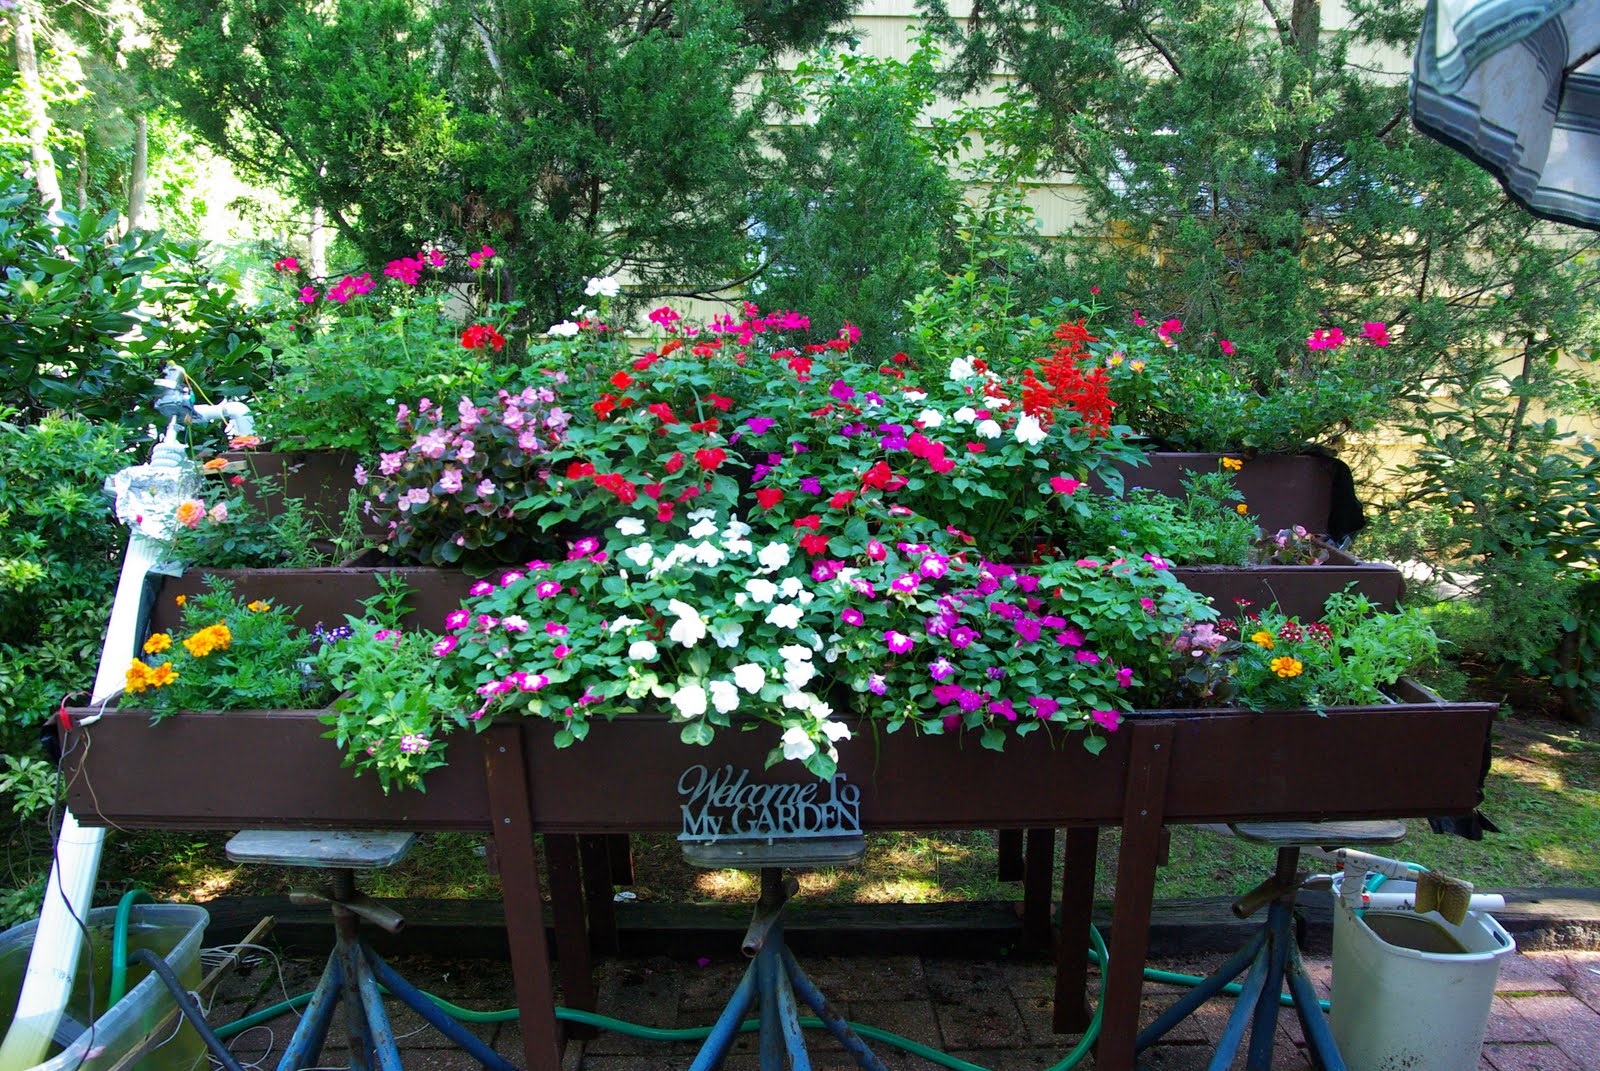
This autogarden consists of three troughs that are approximately 8 feet in length, ten inches in depth and ten inches in height. The ends of the troughs are open. Refer to the picture below for the rest of the description.
The AWL is on the left and connects a tank on the ground to the left end of the upper trough. The right end of the upper trough is connected to the right end of the middle trough and the left ends of the middle and lower troughs are connected together. The right end of the lower trough is connected to a plastic tank and that tank is connected by a siphon hose to the first tank (with the AWL on the left)
Since the step garden is located on a patio and close to electricty, the motor was powered by an adapter. The water flow was controlled by a water controller consisting of a pair of electrical contacts that were connected through a mechanical connection to a sponge. The sponge was in the flow of water exiting from the lowest trough and, when wet, would be heavy and this weight would break the connection between the motor and its source of power. When the sponge had dried out sufficiently (a reflection of the general dryness of the plants), it would be lighter and allow the electrical contacts to touch and turn on the AWL again.
The automatic filling of the tanks was accomplished by a low cost electric water pump (such as those used in fountains) that was placed in the tank of a toilet. The electric source for the pump was on a timer set to turn on for 15 minutes each day. The outflow from the pump was connected to a small diameter plastic hose that went out the window of the bathroom and then into a garden hose where it flowed by gravity to the tank. Important in this setup was that the small hose and the garden hose not be an air tight connection. If there is an air tight connection, a siphon situation exists and the water will flow continuously through the pump in the tank of the toilet into the tank of the step garden.

Results
Geraniums
These did very well and were in constant bloom until a hard frost in mid December. Deadheading was needed about once a week.

early July
Impatiens
These did well until mid October. No deadheading was needed

mid August
Begonias
Another success and were in bloom until mid October- at which time I brought them inside and have them growing nicely in the living room wind (AG-02). Cuttings were also taken at that time and they have rooted under the lights of AG-01 in the basement and are in pots. No deadheading was needed when the plants were outside. I guess the breezes blew off the old flowers from time to time.

Photo taken in mid October
Ageratums
Though they were a pleasant source of blue color when the were in bloom they didn't stay in bloom long enough to justify planting next year
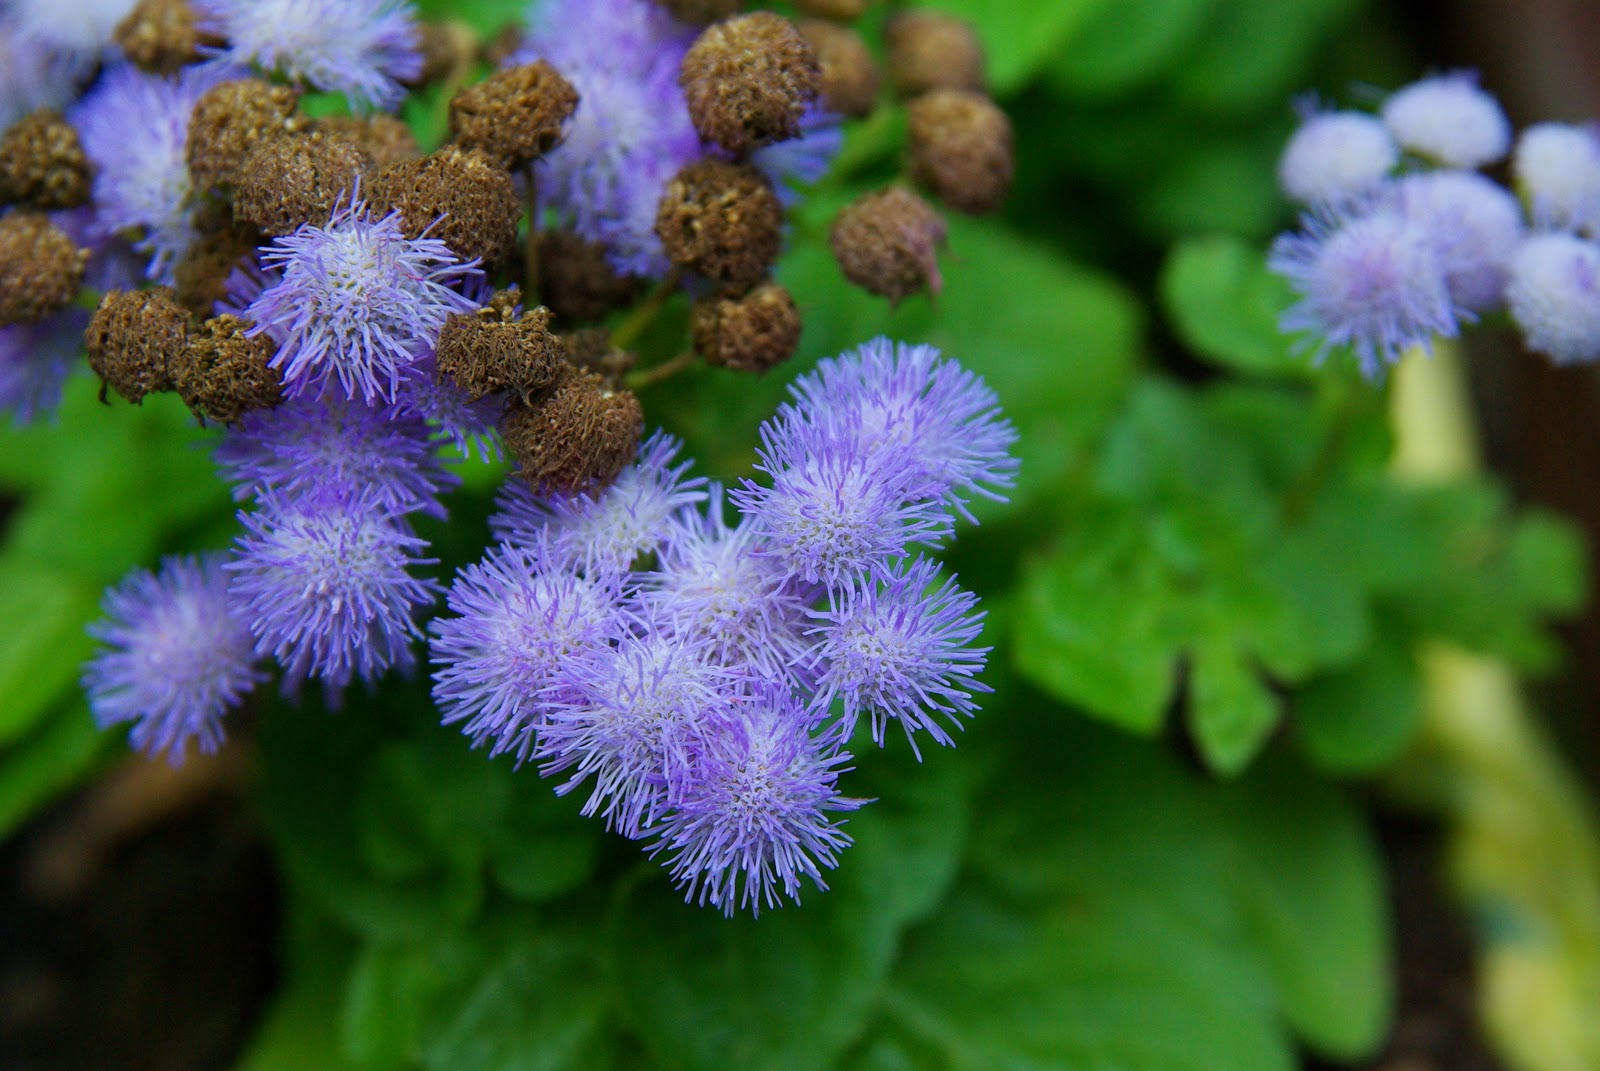
Photo taken in early July
Marigolds
Lovely flowers until mid November. I deadheaded them from time to time but no other labor was needed

Photo taken in early July
Celosia
Flowered as normal but after going to seed weren't worth keeping and were discarded in mid season. By that time the impatiens and begonias were clamoring for space so some rearrangements of the locations occurred.
Verbena
Another poor performer
Nicotiana
Another poor performer
Miniature Roses
These did remarkably well and grew and flowered throughout the summer. They are now in my living room window (AG-02)

photo taken in mid August
Petunias
Did well as long as the garden had lots of sun. Towards mid August the step garden only had an hour or so of full sun per day. I moved the plants to a different location in my yard and planted them in the ground and they perked up
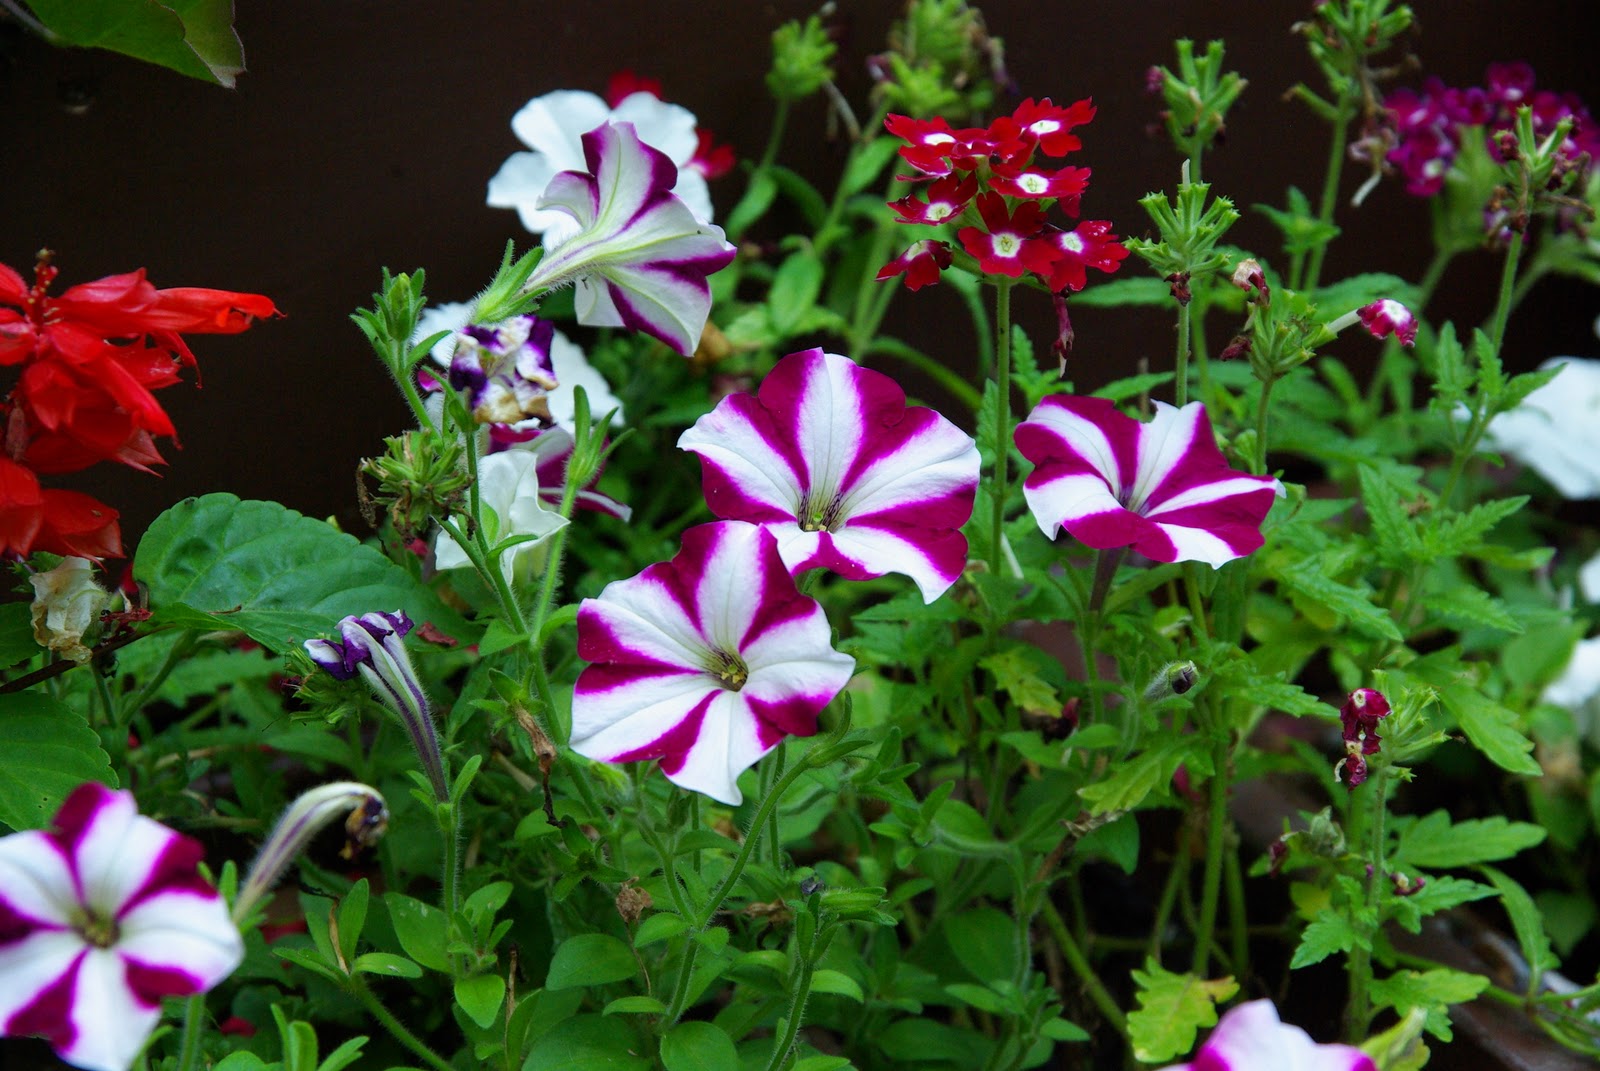
photo taken in early July
Gazanias
Poor performer