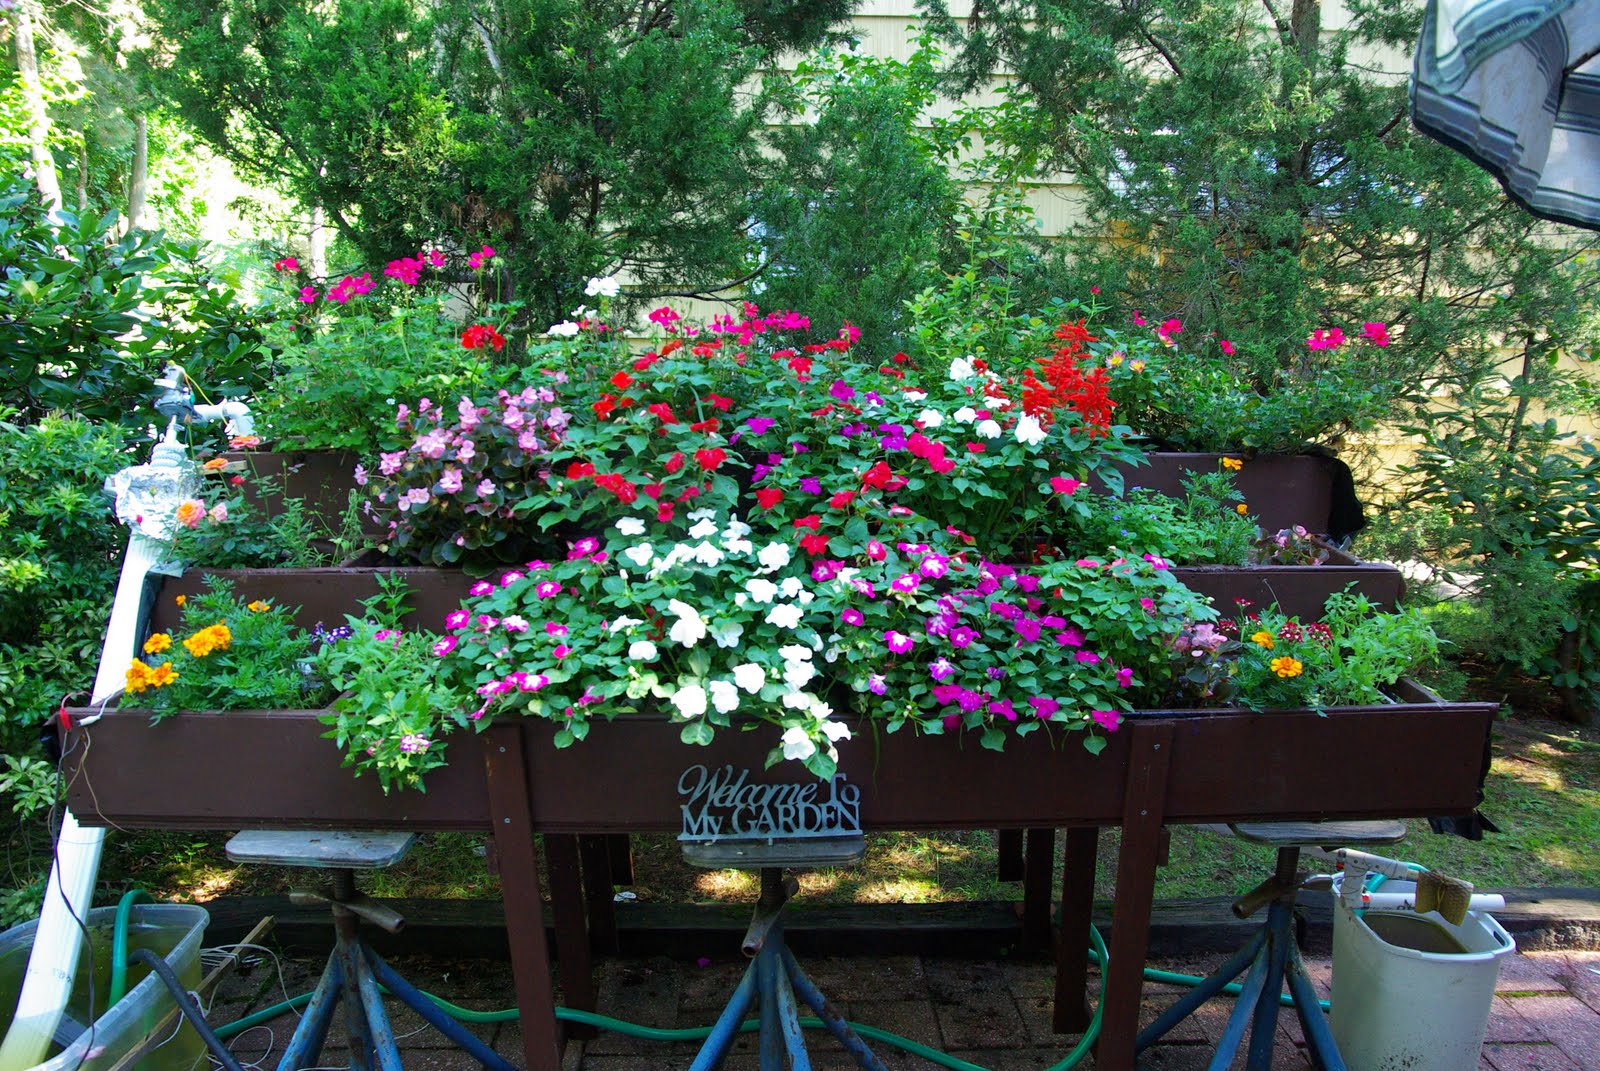
For an introduction, see Jennifer's Hausler's fine blog for a description of the autogardens and the Archimedes Water Lifter (July 29th and September 7th blogs)
See Part 1 [below] first to become familiar with the seven styles of autogardens that I have developed so far
And now for an update on some of the gardens....
AG 04 - Nyack Community gardens
Tomatoes
General appraisal
The two varieties (Beefsteak and Roma) have done well and will be grown again next year. The overall heights of both types had made it awkward to leave them at the plot because they were starting to shade the neighbor's plants. Accordingly, most of the plants were moved to AG 07 after its construction was completed. As of this date(September 10th) I have harvested over 350 tomatoes
Growth density
An attempt was made to increase productivity by putting many plants into the same pot. The theory was that water would no longer be limiting and that as long as there were enough nutrients and sunlight, the plants would thrive. The results bore out this assumption in most cases. There were issues with rotting on the end of the fruit (see figures 1 and 2). Whether the rot is due to a lack of ventilation is not clear because other tomato plants at the community gardens also had these problems.
 |
| Figure 1. High density growth of tomatoes |
 |
| Figure 2. Rot on tomatoes |
Staking of the plants
Tomatoes can grow to a great height. In addition to the shading problem indicated above, the height can create two additional problems with a container-based approach: 1) a tendency to topple over in the wind and 2) a need to suspend the vines.
For the first issue, every attempt was made to keep the pots moist. There were some hot, windy days though in late July when the plants were tall and laden with fruit and the plants toppled over. Though larger and heavier pots would solve this problem the added weight on the racks would lead to additional complications. After some experimentation a simple method for connecting the plants together through a horizontal pole at about 4 feet above the top of the pots was found to be sufficient. This approach was successful in AG 07. The plants didn't topple over - even in Tropical Storm Irene.
For the second issue, three vertical stakes were placed in each pot and pushed down to the bottom. The stakes were about 4 feet in length and had their ends trimmed to be pointed to ease insertion. As the plants grew in height, horizontal cross bars were added and the plants were constrained within the volume defined by the stakes and cross bars. Several different approaches were taken in attaching the cross bars (direct attachment with metal screws, rubber bands, bands made from inner tube, and approximately 8 inch lengths of plastic coated wire. UV radiation caused the rubber bands and inner tube loops to fail. The screws were too much work and the wire ties, although more awkward to tie, did the best job of holding the cross bars to the stakes. See figure 3.
 |
| Figure 3. Horizontal crossbars and rubber inner tube loops |
One advantage of growing plants in containers is that the levels of nutrients can be controlled better than when the plants are in the ground. Since nearly all the water the plants receives comes from below a slow-release form of fertilizer placed directly on or in the soil was considered. I had previous experience with Osmocote Classic smart release granules in my ground-based gardens so I tried it with the autogardens. I liked that the label said that it was difficult to over-fertilize because I knew that I was going to be doing a lot of learning along the way.
It turns out that using the Osmocote gave me a wide range of fertilizing options. I added the granules to the soil of the seedlings in the AG 01. Added some more when I was growing them in the greenhouse as seedlings with AG 03 and added granules a few more times during the season when the plants were in the full size pots in AG -04 and AG 05 and AG 06. They worked great and the plants always seemed to have a healthy green color.
Lettuce (from seeds started in AG-01)
I started Black seeded simpson seeds in the basement autogarden (AG-01) tand eventually moved them to the Nyack Community garden autogarden (AG-04) without a stint in the greenhouse. The plants did as well or better than my previous years of lettuce in the ground. My favorite aspect was that the leaves aren't splashed with dirty water from the ground so you can eat the leaves right out in the garden without rinsing.
Swiss Chard (from seeds started in AG-01)
I grew the Rhubarb type. This also did extremely well - even at a high density. With moderate picking through the season I have managed to keep the plants. Now with cooler weather I expect a fine fall crop from the same plants that were started many months ago in my basement with AG-01.
Peppers (Red, Yellow, and Green) (from plants purchased at a garden center)
These did very well too. I have had a continuous harvest for several months now (September 10th). Some of the plants have reached a size where they have needed to be staked and I used the same approach as described above for the tomatoes.
Peas (from seeds started in AG-01)
These plants produced tasty pods but I won't grow them again in the AutoGarden because the yield wasn't great enough to justify giving up the space to them.
Onions (from onions sets)
Another fine AutoGarden success. I didn't think that my watering system would allow root-type crops to be successful because I anticipated that the constant moisture would create a rotting situation. I was wrong. The onions are doing very well.
Celery (from plants purchased at a garden center)
These plants have done extremely well too. Again I planted them at high density. This was probably a mistake in this case because it was difficult to harvest one plant without damaging the plants next to it.
Broccoli
Plants are doing well but I haven't harvested anything. The plants went into flowers while I was on vacation so I am back to eating only the leaves.
Beans (from seeds started in AG-01)Plants are doing well but I haven't harvested anything. The plants went into flowers while I was on vacation so I am back to eating only the leaves.
The plants have done well. These plants tell an interesting story about the effectiveness of the AutoGardens in preventing the occasional munching of ground-based animals. The plants had been growing quite nicely on the AutoGardens all season but when the hurricane was approaching, I put them on the ground for fear that they would blow off and be damaged. It turned out that the neighborhood varmits used this chance to eat them almost entirely - pods, leaves and stems. Another crop (and some of the plants that I didn't put on the ground) are doing well.